How to make your own product photography flatlay board

A few days ago I posted some images of a flatlay board I made in my favorite photography Facebook group, Looks Like Film Learn. It’s a great group to find educational resources, get inspired, and just interact with a ton of insanely talented photographers. Anyways! It got a ton of comments and a lot of you wanted to see how I made it so this is what this post is about. Thank you so much for encouraging me to make this post as well. I was thrilled to see how many of you were interested in this process!
Checklist
Sanded Plywood (FSC Certified) (Common: 15/32 in. x 4 ft. x 8 ft
Westpac Materials 3-1/2 Qt. All-Purpose Pre-Mixed Joint Compound
2 x 3 in. Flat Chip Brushes
Everbilt 5 Ft x 5 Ft Small Project Canvas Drop Cloth
Wal-Board Tools 2 in., 4 in. and 6 in. Plastic Taping Knife Set OR 6 in. Joint Knife
4 in. x 3/8 in. Shed Resistant White Woven Paint Roller Cover with Frame
4 in. x 3/8 in. Shed Resistant White Woven Paint Roller Cover (2-Pack)
7-1/2 in. x 5-1/2 in. Extra Large Grouting, Cleaning and Washing Sponge (3-Pack)
9 in. Metal Paint Roller Tray
Pro Grade Precision 9 in. x 11 in. 120 Grit Medium Advanced Sanding Sheets (4-Pack)
Pro Grade Precision 9 in. x 11 in. 320 Grit X-Fine Advanced Sanding Sheets (4-Pack)
Paper towels
Bucket
Paint


Wood
The first step is to choose your plywood. I got a 4 x 8 foot plywood board that had already been sanded. It’s not the best quality piece of wood but it got the job done. If you are planning on staining or painting directly onto the wood rather than adding a layer of joint compound then get a higher quality plywood board. It will have fewer splinters and is what I’ll purchase the next time I do this.
Sizing
Next is the hardest step, deciding what size board(s) you want. I chose the 4 x 8 ft. plywood so I could get four 32” x 24” and two 24” x 24” boards. If you go to Home Depot they will cut it there. Just make sure you triple-check your dimensions and bring a sketch of how you want it cut. I tried explaining what I wanted at first and am so glad I drew it out beforehand so I could show him what I was talking about. I guess I got to work on my communication skills! If you don’t have a place to store all of the wood or just want to start small get a 4 x 4 foot plywood board instead. You can make four 12” x 12” or two 24” x 24” boards.
Paint
Make sure you have a list of ideas before you start choosing your paint. I created a Pinterest board with some of my favorite ideas. Once you’ve organized your thoughts then you can start picking out your color samples. I got two samples of pure white and one black. Just to make sure I could add and remove depth if I needed to. Then I picked one to two shades within a color pallet, a middle and a dark tone. As I painted I would use the white and black paint to lighten or darken. All of the colors I used are listed in the image captions below.

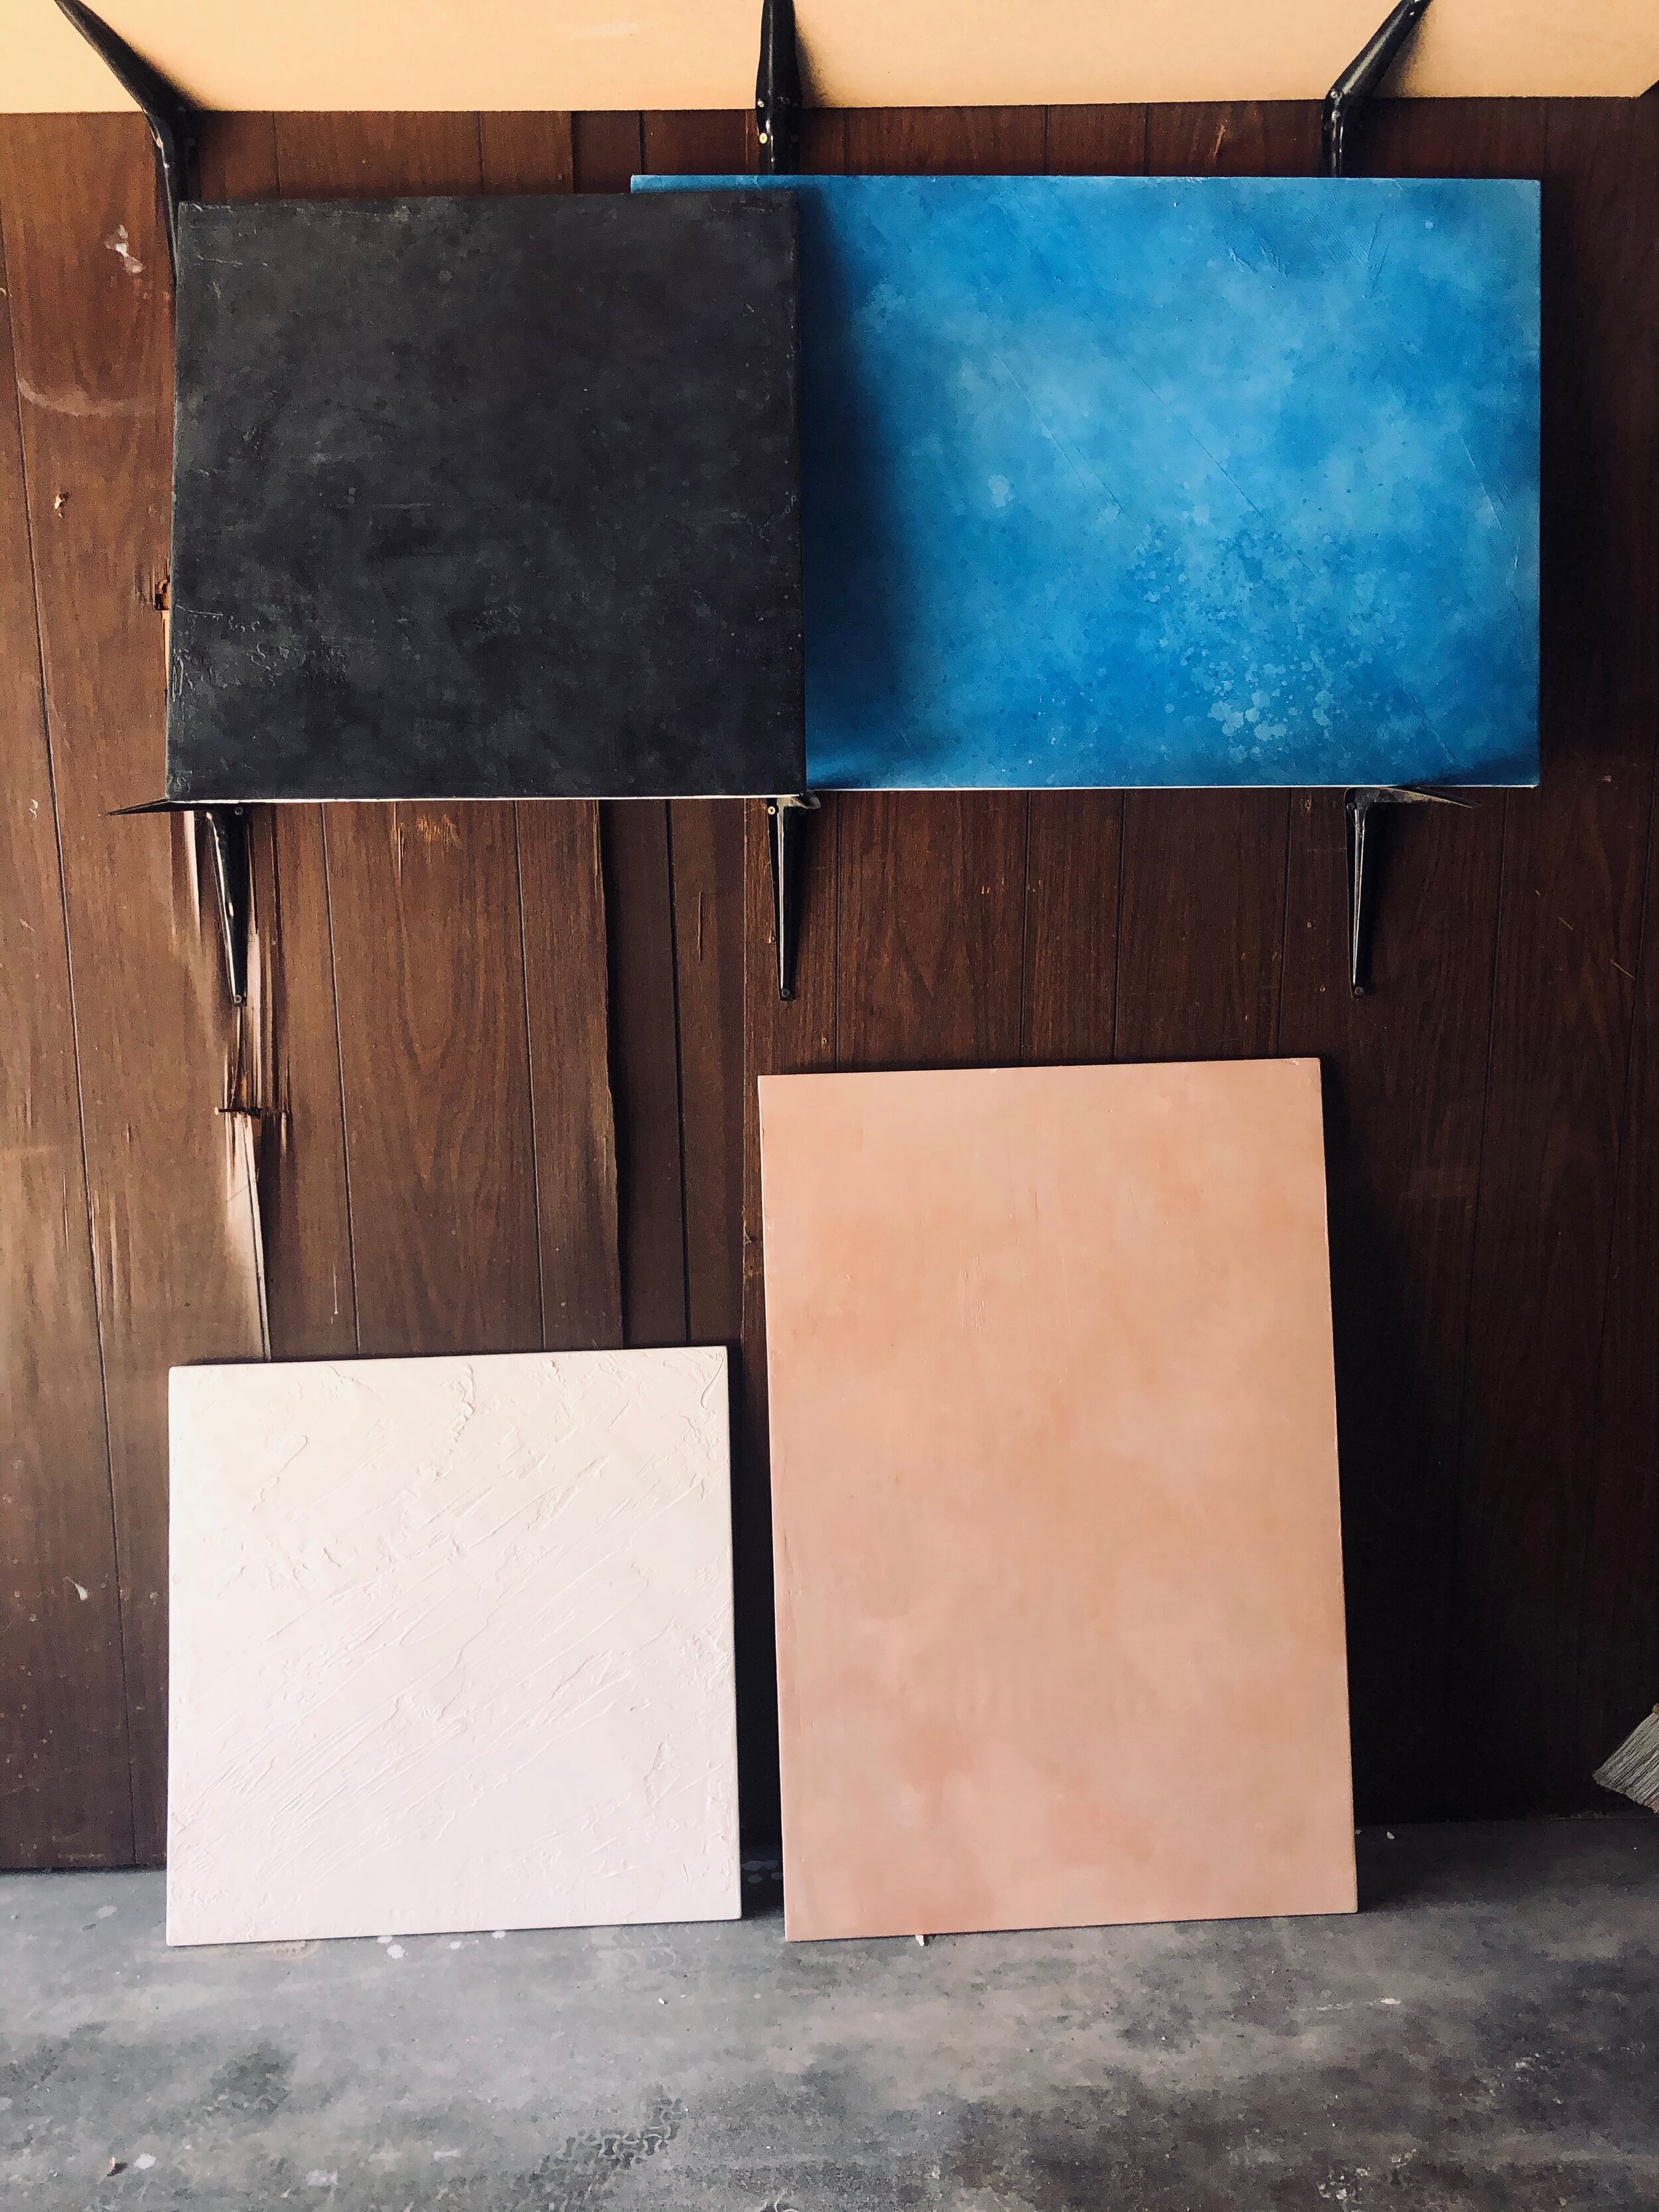
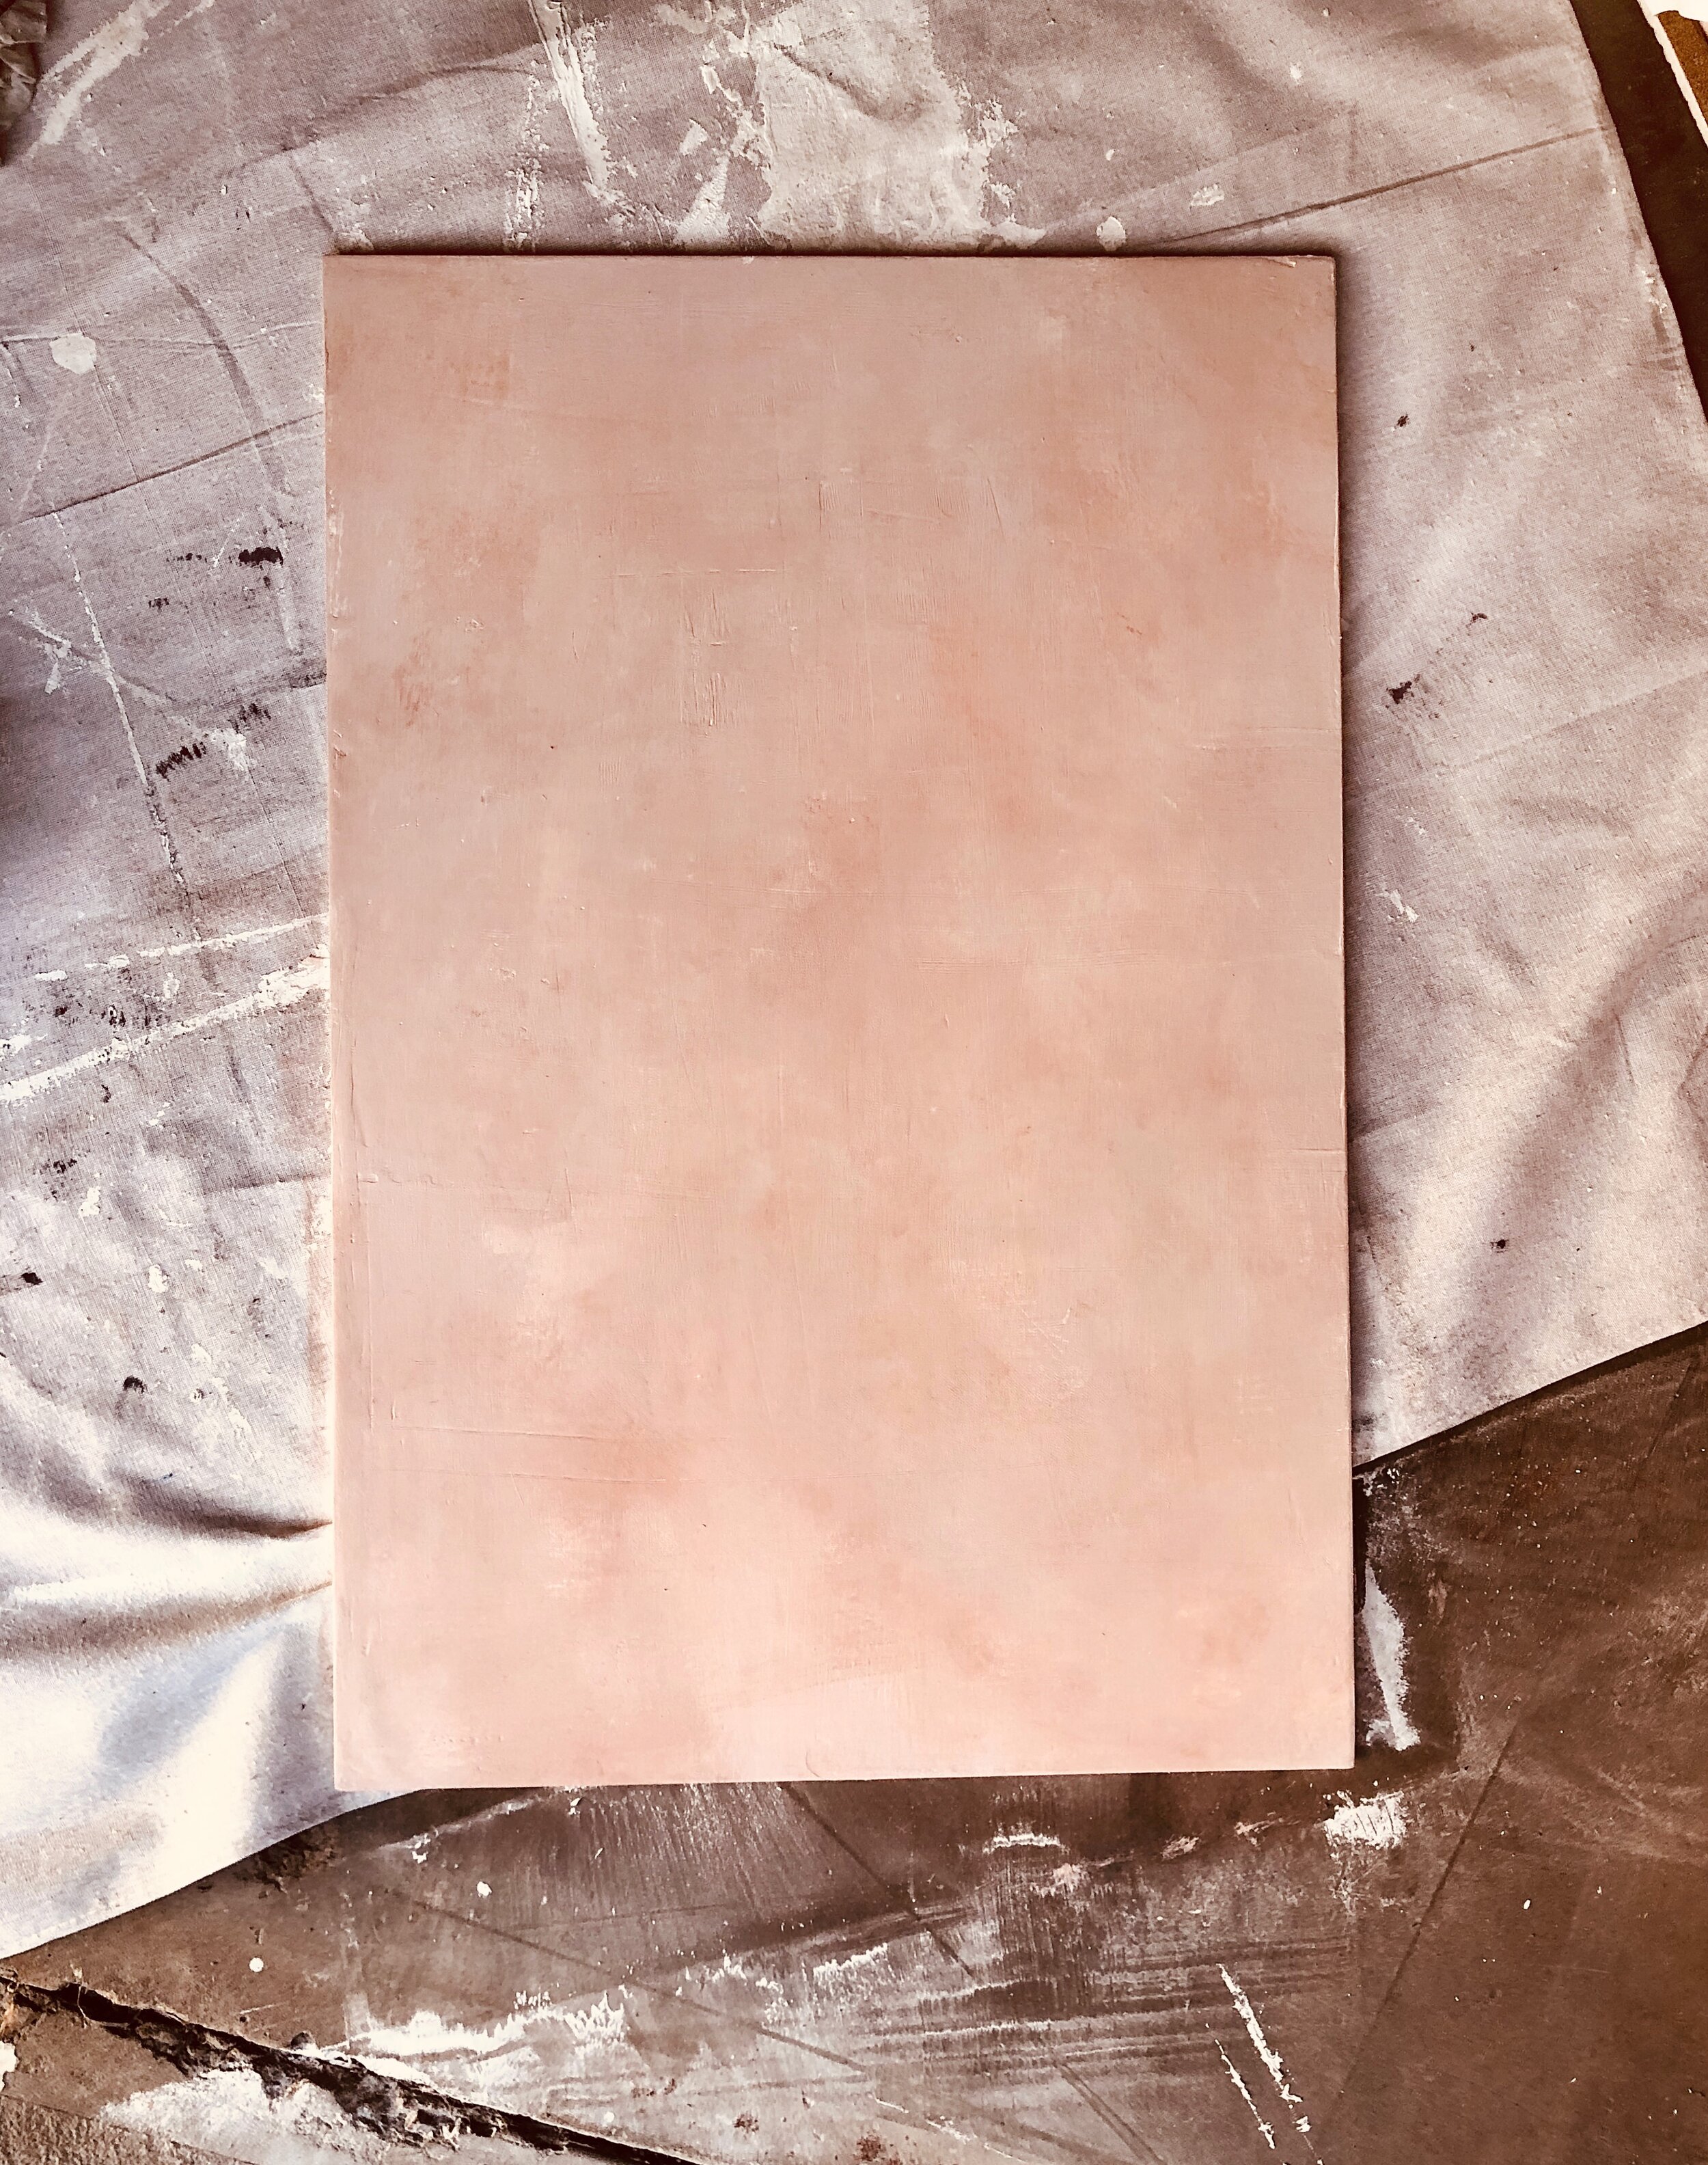
Behr Pure White / PPG Vanilla Milkshake / PPG Terrazzo Tan
The Step-By-Step Process
Sand both sides and edges of the wood.
Always go with the grain, not against it. Use the 120 grit (harder grain) sandpaper to remove the splinters or any rough surfaces. Once you get an almost smooth surface switch to the 320 grit (softer grain) sandpaper to finish it. Make sure you do the edges as well as that’s where you’ll most likely get a splinter later on.
Dust it off and wipe it down with a dry paper towel.
When you wipe it down the paper towel will also catch on any splinters. It’s a lot better than running your hand over the board and finding them that way. Sand over the areas that need work and repeat this step.
Spackle
Choose the roughest side of the board if you still have splinters. Use the plastic knife and scoop about a cup of the joint compound onto the board and start smearing aka spackling. It’ll take a moment to get a design going but you’ll eventually discover the techniques you like.

Behr Pure White / PPG Magic Wand / PPG Blueberry Pie
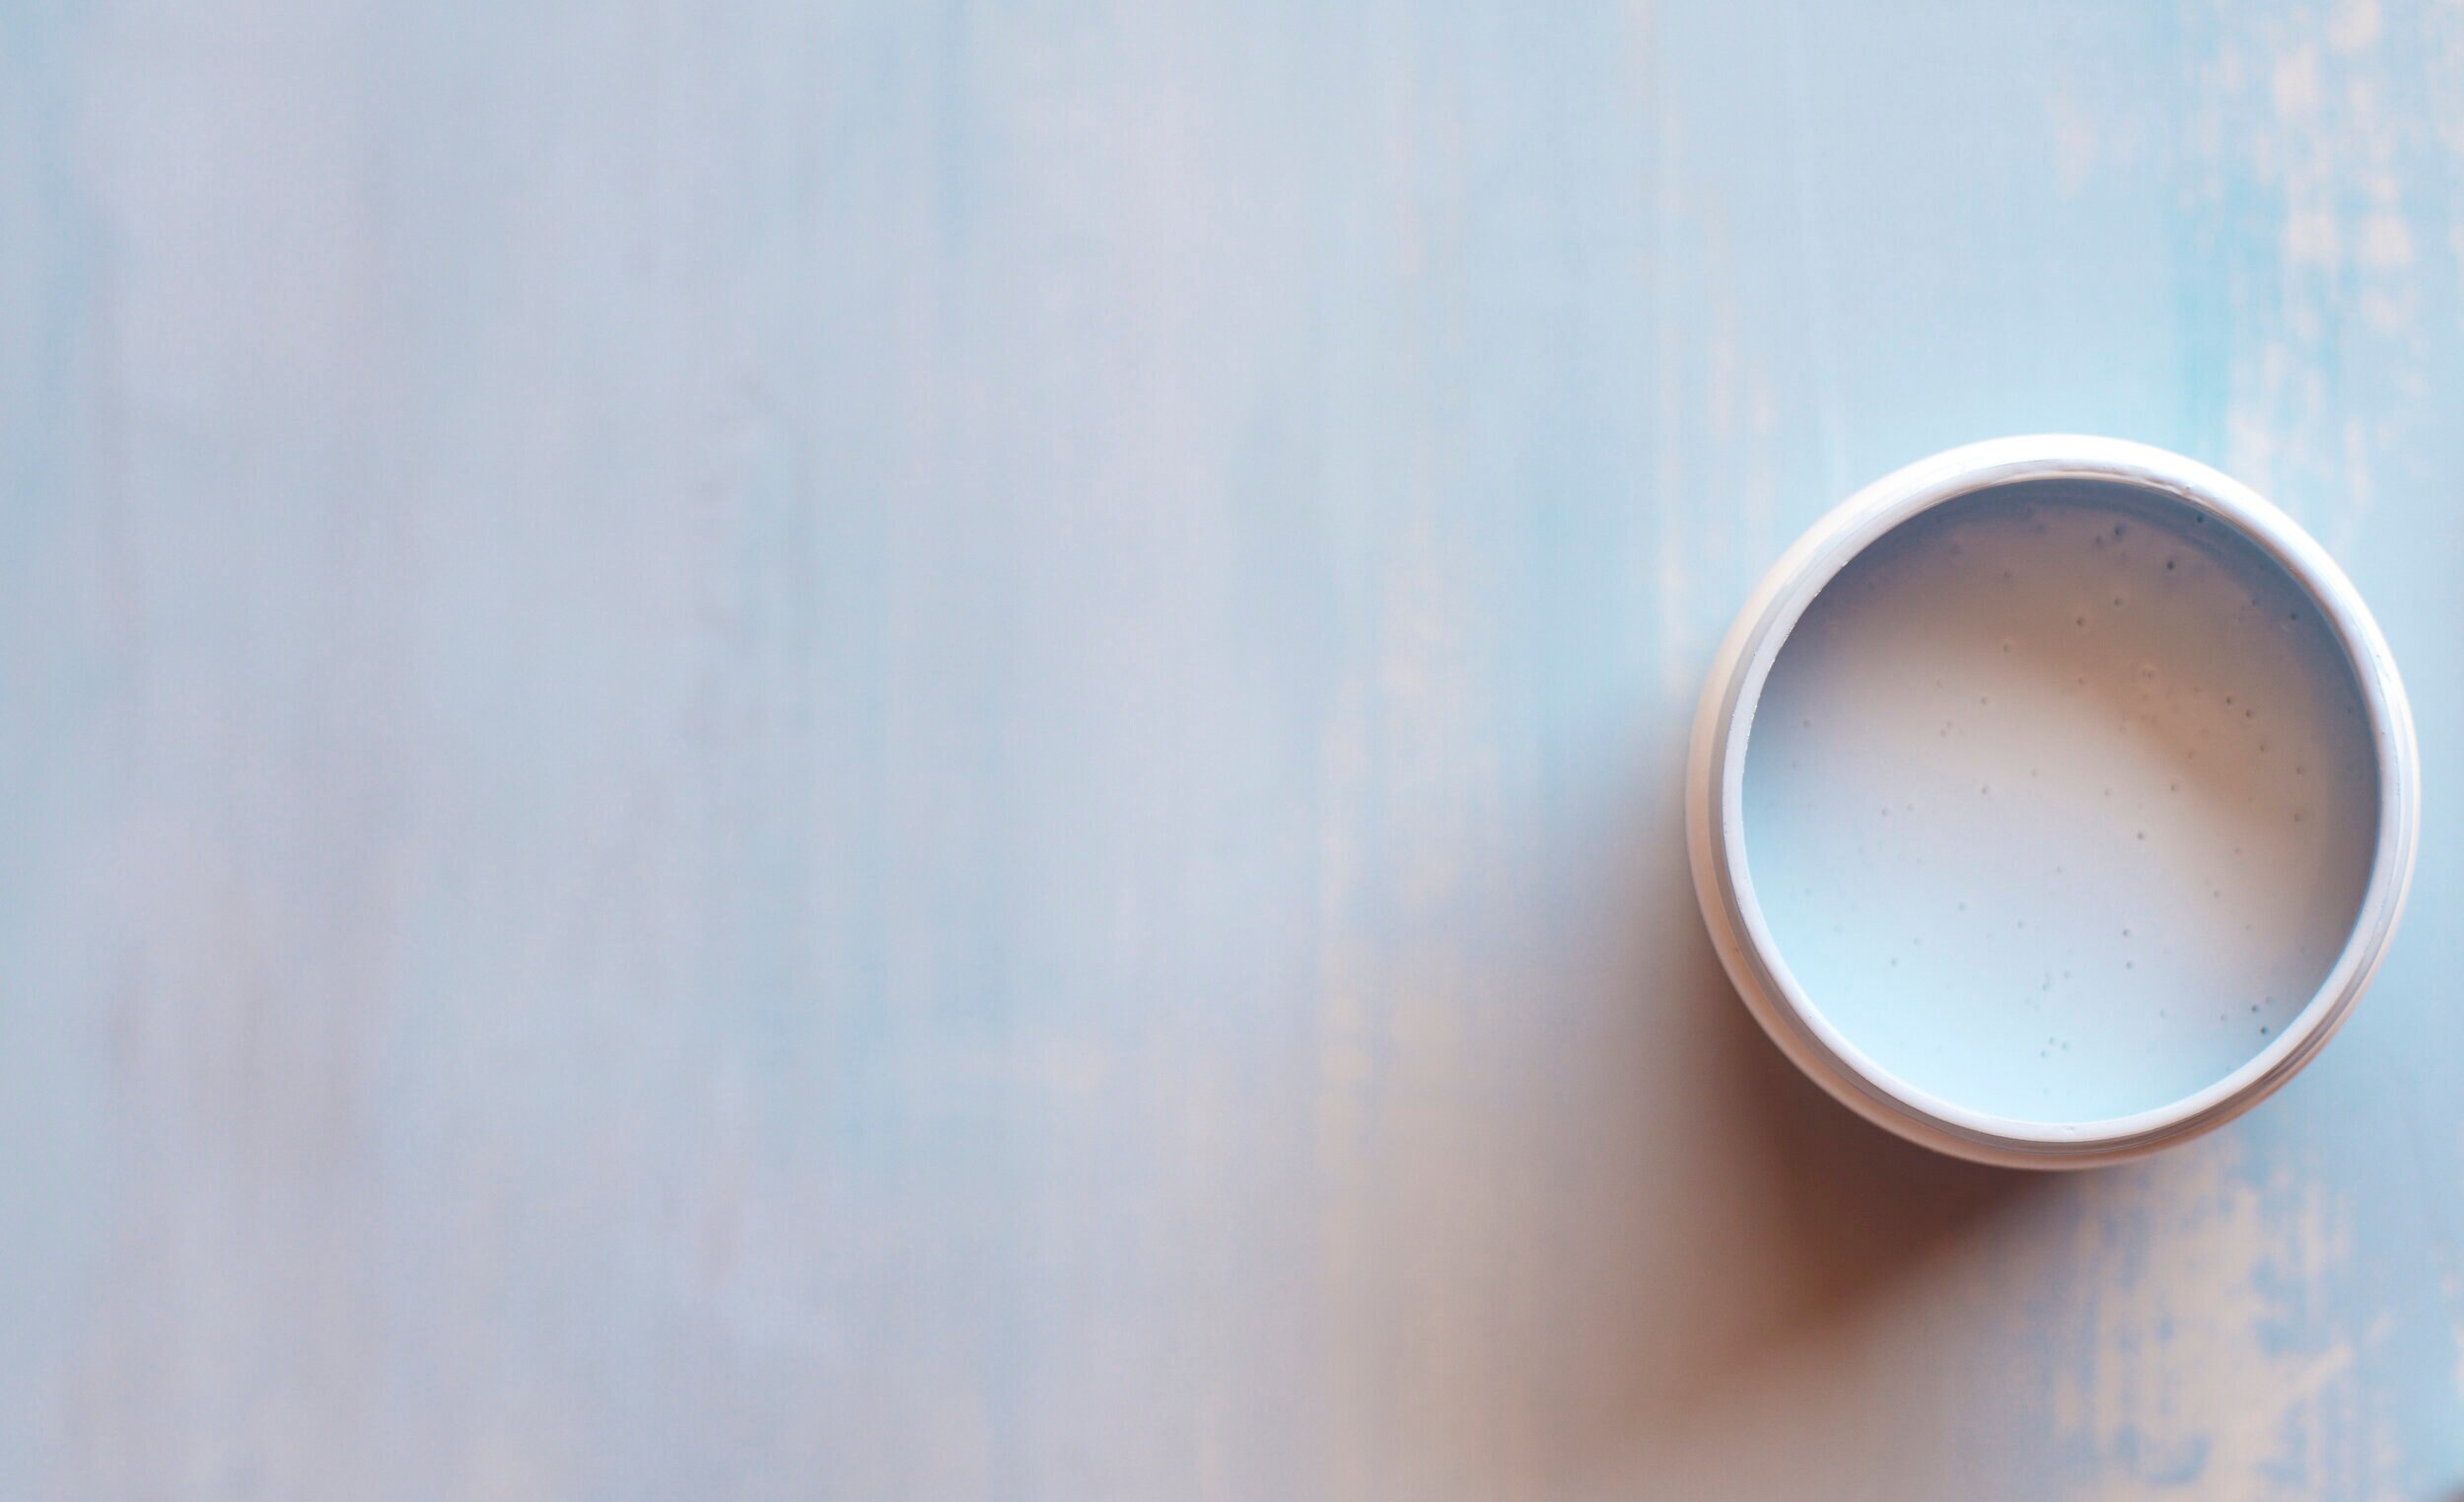
Behr Pure White / PPG Magic Wand / PPG UFO / PPG Blueberry Pie
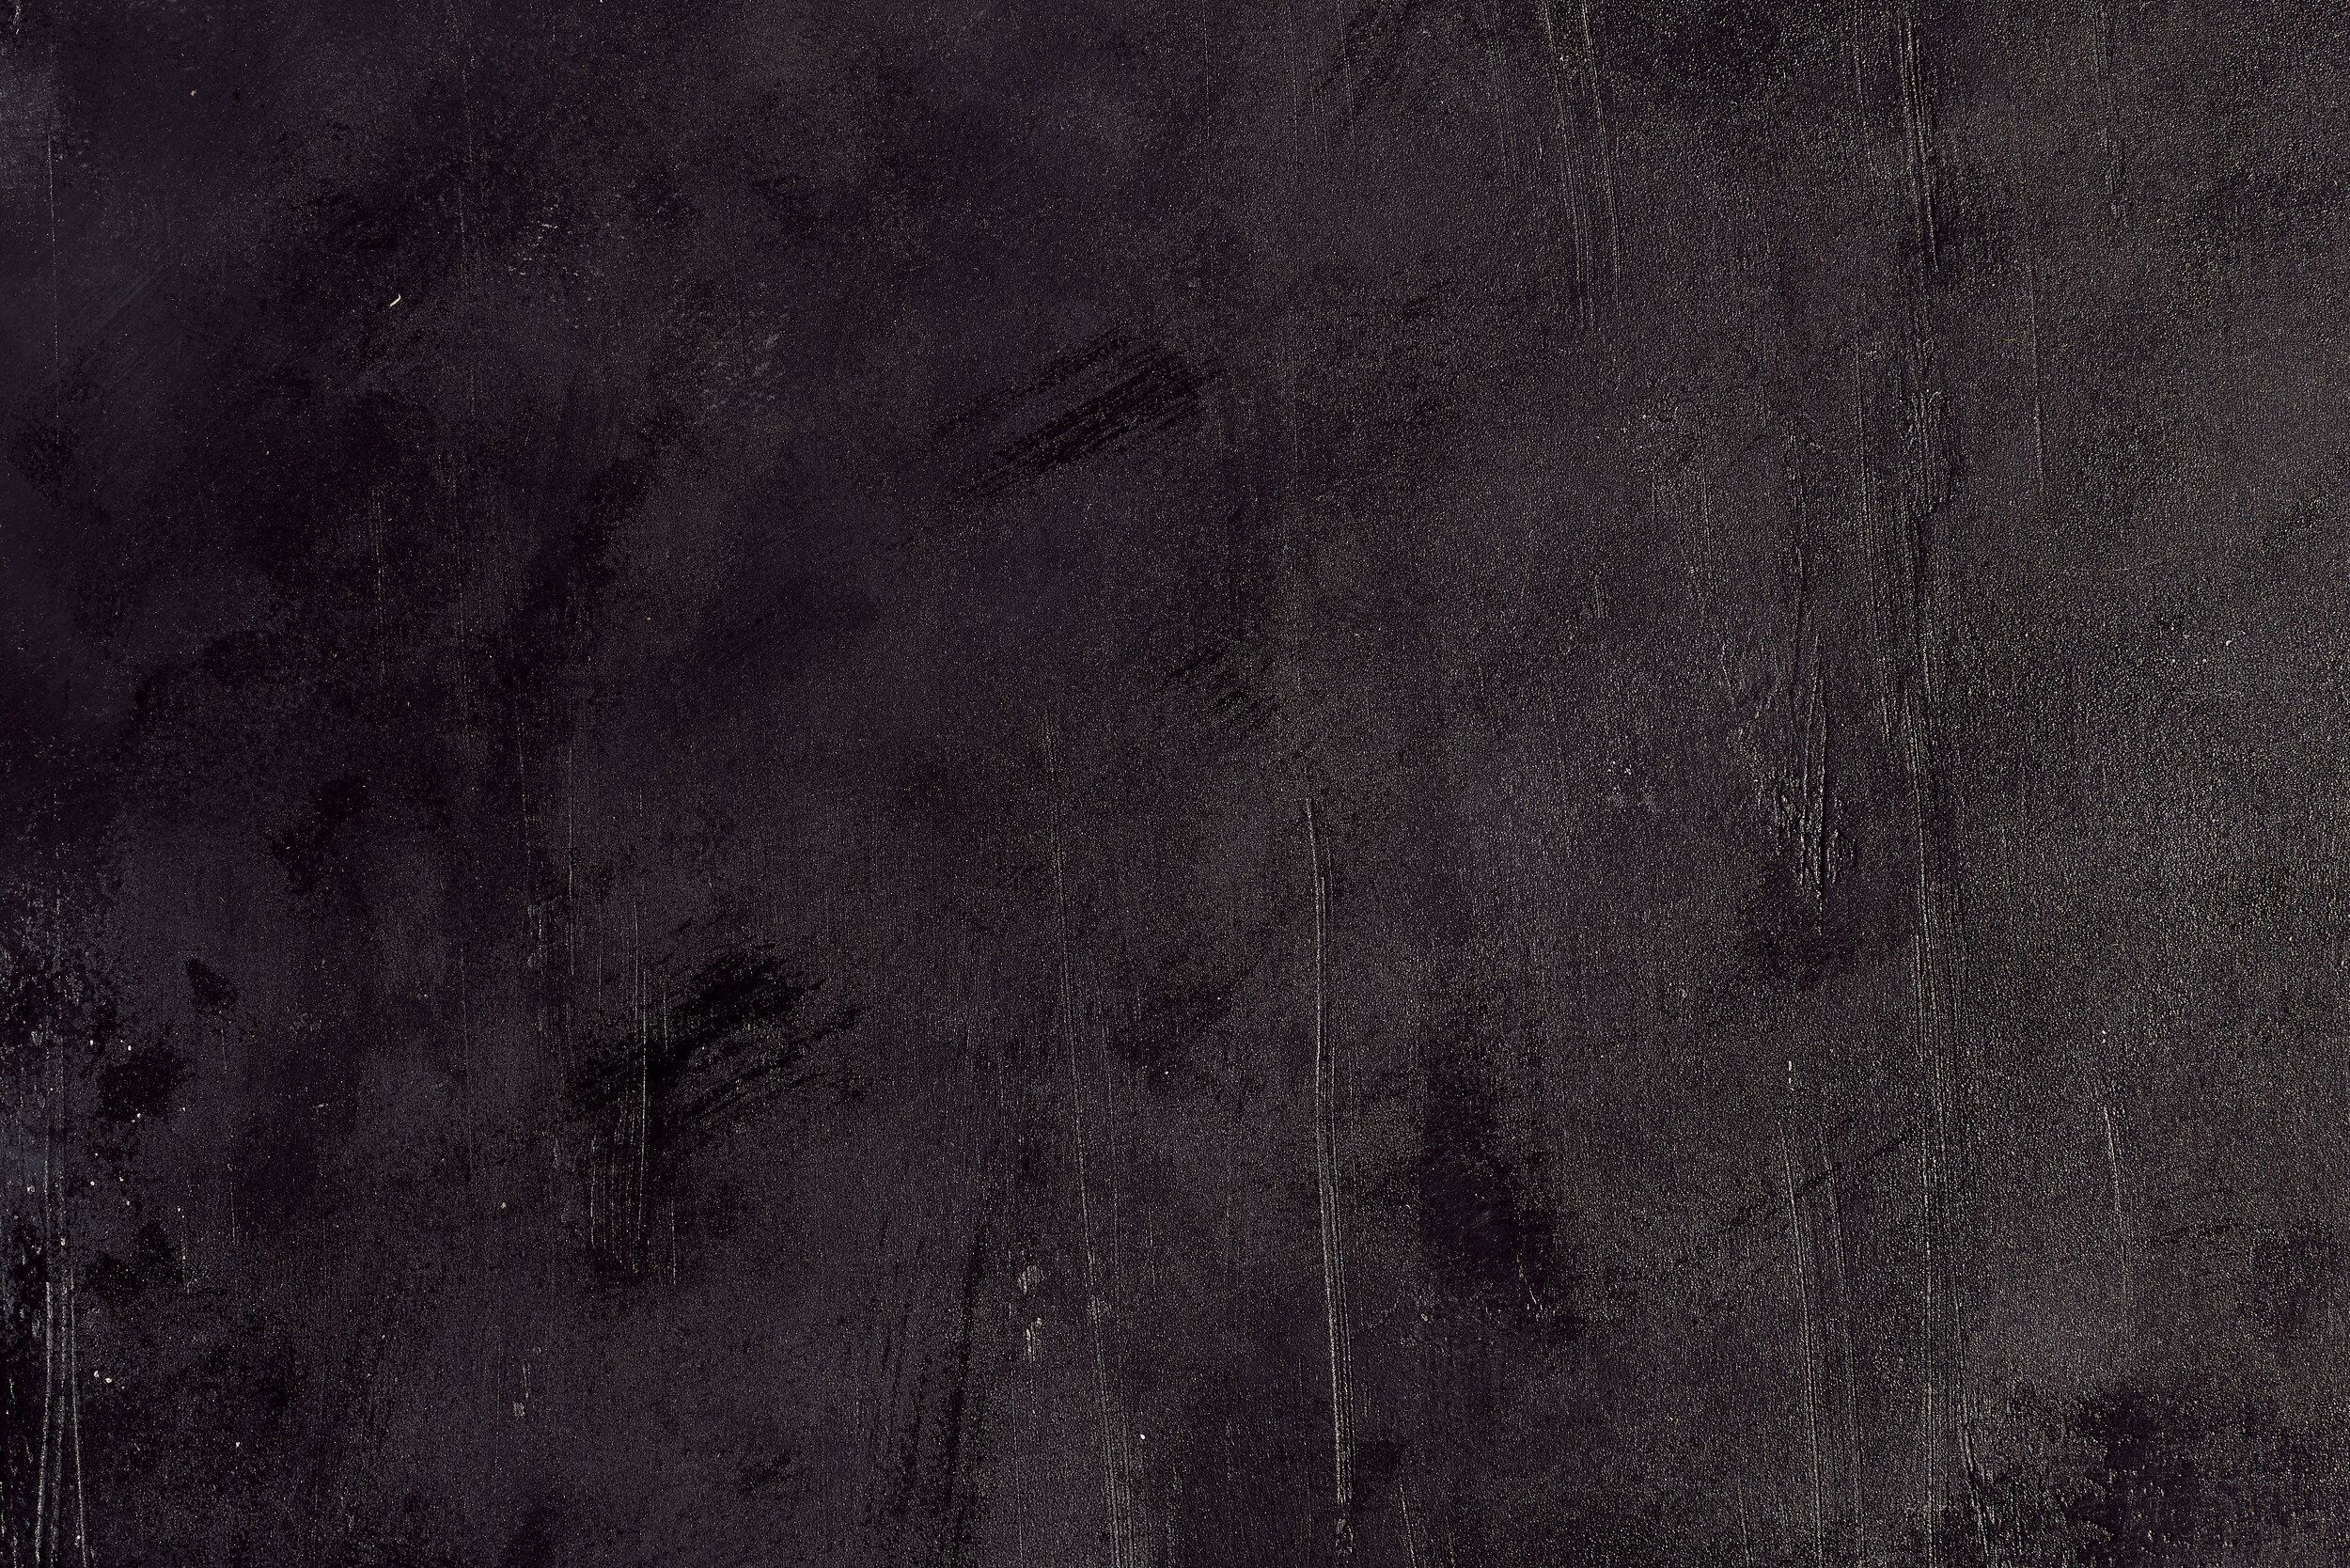
PPG UFO / PPG Onyx Black
Tips & Tricks:
I used a little bit of water when the joint compound got too dry. This allowed me to smooth out and blend some areas that needed some more work.
If you are having trouble, try using a metal joint knife instead. You can bend the edges and it’s much more user friendly.
Don’t worry about a messy edge, you’ll sand it later.
Youtube is your friend!
4. Let it dry, completely.
Mine dried overnight but check to make sure you don’t feel any damp spots. If it’s dry move onto the next step.
5. Sand it again.
Use the 120 grit sandpaper to smooth the edges of the board. If you have any imperfections in the board that you don’t want, use the 320 grit sandpaper to soften it. A light touch is best.
6. Remove dust.
7. Paint!
Ok, it’s time for the part you’ve all been waiting for, laying down the paint. Have your sponges, paint brushes, paint roller, water, and paper towels close by. Start by applying the lightest color you have with the brush then build up the depth and texture by adding the darker colors. If you want to apply just one layer use the paint roller. Use all of the tools you have to see what works best and then just keep going until you find yourself with your own handmade flat lay board! Let it sit overnight to dry.
Tips & Tricks:
I took one of my large sponges and ripped it into four imperfect pieces. I also kept some dry and wet others so that I could blend the paint and apply some texture.
Having two brushes was very helpful. I liked being able to use the brush I was painting with to apply paint while having a dry brush to create texture.
To add paint splatters I took a brush loaded with a bit of the darker paint and dipped it in the water. Then flicked it over the board and used a wet and dry sponge to remove the spots I didn’t want.


Share what you made!
This whole project made me realize that photography isn’t just about the actual photoshoot it’s about what you do to prepare for it. These backdrops were made with a purpose, to better my photography. Plus, it was a great way to do something with my free time during quarantine. If you end up using my tutorial to make your own flatlay board I would LOVE to see it! Tag me on instagram @nikkigotspirit or share a link to your own flatlay board in the comments. I can’t wait to see if this helps and elevates your photography.